"The greatest fine art of the future will be the making of a comfortable living from a small piece of land."
-Abraham Lincoln
Showing posts with label craft. Show all posts

Bracelets

My trips to Wal-mart usually are few and far between and typically consist of me heading straight for the produce section or the pharmacy aisles.  It's not that I don't like Wal-mart, I just don't really have much use for it.  I don't go grocery shopping all that often and when I do I usually go to our local Meijer.  So, the fact that I took a meandering walk through Wal-mart last night was pretty unusual for me but I'm happy I did because I found some really cute buttons and picked up some fairly inexpensive yarn at 2 a.m.   Really can't do that at too many other stores. At least something good came out of these bouts of insomnia.

 So while I was sitting awake looking at my new little baubles I decided to put them to good use and made a crocheted bracelet.  I used a simple pattern of just plain double crochet with a single crochet border, it was 3 in the a.m. by this point after all, intricate patterns were just not feasible accomplishments that early in the morning.

The button really makes the bracelet, I think.  I have several patterns now saved in my Ravelry favorites folder that include more intricate patterns and some knitted patterns.  It's kind of nice to spend a  little time making things that are just for fun every once in awhile.   Time well wasted.  :)

I'm Jumping In

I've decided to go ahead and join the declutter challenge mentioned in my previous post.  If anybody else wants to join in go ahead to Hoof 'n Barrel where I heard about it first or head directly over to the Single Saver blog.  
Around here we have a donation truck that stops by every so often where you can donate items to various causes (veterans, lupus, or the kidney foundation).  You place a bag of items out by your front door, mailbox, garage door or whatever and some time during the scheduled pick up day they come and whisk the bag away leaving you a brand new bag and a thank you  note. Since the goal is to donate 366 items in one year, I'm aiming for 1 item per day.  Which meant that when the truck pulled up to my house this morning I intended to have at least 8 items to give away to the truck.  In my house, 8 items really weren't hard to find and I easily met my goal.  Yay for progress! 

While I'm saving my sanity by clearing some of the clutter in my house I decided to also try to save what's left of my old, worn out furniture and crochet some coasters for the coffee table and end tables.


The picture came out a little dark but I'm to lazy today to try and fix it in photoshop.  You'll just have to imagine it a little brighter.

I had previously thought of buying new coasters until I found out that a set of four, simple, cork coasters cost around $7.50.   Needless to say I was a little appalled by that.  I'm not really a cheapskate or anything but, yeah, there was no way I was going to spend that much money for a few chunks of cork board.  I decided to crochet the coasters instead of simply cutting out cork board circles because I thought it would be a lot prettier and it was a way to use some some of my spare cotton yarn. 

I used regular old Lily Sugar and Cream Cotton yarn in ecru and warm brown.  As I mentioned, I used scrap that I had laying around but I priced them at my local Meijer and brand new they only cost about $1.79 for a 2 oz. skein.  I got 4 coasters and a matching dishcloth out of about 3/4 of a single skein of yarn.  SO, I got all of that for less than $2 and far less than the $7.50 for a new set of store bought coasters.  It pays to make your own.  There are alot of free patterns in the world for crochet coasters so I won't bother typing this one out here.  The basics are just a simple crochet circle to the size you want and then I added a very easy picot edge.  Easy-peasy-lemon-squeezy. 

Monkey In The Middle

I just finished the monkey square for youngest's "monkey in the middle" knitted afghan.  The square is actually intended to be an 8"x8" dishcloth but I increased the size a bit by using a much larger needle (size 7 US) than what was called for in the pattern so my square ended up being about 10"x10". 
The square is super cute but the pattern, which you can find for free here, is not one for mindless knitting.  If you intend to make a square while watching some super exciting movie on TV then this is one you'll want to skip.  The stitches are easy, no lace or eyelets, just plain knit and purl stitches so if you have the time and quiet to be able to focus just on the knitting for awhile then this is definitely worth it.  It took me about 12 hours to complete the whole thing and that was with the usual distractions that come with three kids, although some things, like my sink full of dirty dishes, got pushed to the back burner for the sake of this monkey. 

The plan is for this to be the center square (hence the monkey in the middle moniker) surrounded by plain, solid squares in this blue and a complimentary green.  I'll have to make about 34 plain squares if my calculations are right but those should work up pretty fast since they are going to be just stockinette stitched squares with a popcorn border to match the monkey square.

P.S. In case anyone is wondering, the monkey is symbolic.  DH and I affectionately refer to each of our children as Monkey #1, Monkey #2, and Monkey #3 due to their climbing, jumping, running, and general tendency towards wreaking good natured havoc.

We've Been Decorating

Our homeschooling curriculum has been focused around a Christmas theme for the last week or so and as a result the kids have made a lot of Christmas projects and decorations. It's been a fun way to keep them busy while teaching them all about Christmas customs around the world, the history of some of the decorations we use,  as well as the Nativity story and other holiday gems like The Gift of the Magi.


Everything they worked on was created out of simple household items like paper plates, tissue paper, construction paper and direct from the printer coloring pages with the exception of the mug centerpiece which required a mug (obviously), some floral foam (the green foam), some wire, bits of evergreen branches, and miscellaneous Christmas beads.  Throw in some safety scissors and scotch tape and we had inexpensive projects for each day of the week.   The kids had great fun and ended up learning too, you can't beat that.


Toy Train

I bought Middle a Creativity For Kids Make Your Own Train kit earlier this week.
We spent this morning building it. 
This sort of thing is right up his alley since he likes loves anything with wheels and he loves building/working with his hands.  

The train before Middle glued on the wheels.


Middle is a fairly rambunctious little squirt but when it comes to projects like this one, he can actually sit still, concentrate and work quietly for a quite a long time.
Which means a nice break for Momma ;)


Painting his masterpiece.


This is the finished product.   The paint job is completely custom xD
I helped him spell out his name and then he picked out the number 4 sticker (for his age) and the heart. 

It has now been run into every wall in our house at high speed and it's still holding together.  I'm fairly impressed, I think it was definately worth the $3. 


New Floors and One Very Scary Little Dude


With three days left until Nanny and Pampaw come up from Florida and 4 days left until graduation and 6 days until Youngest Brother's graduation party....DH decides that now is the time to rip up the floors. He started last night, at about midnight (he has the worst timing sometimes) which meant that we had to clear all the furniture out of the way. Which is where the very scary little dude comes in.

See we inherited this house from DH's great aunt and some of what was her's is still left here, we uncover it from time to time and usually it makes for a nice little surprise. Well this guy was a surprise but I wouldn't describe it as a "nice" surprise.
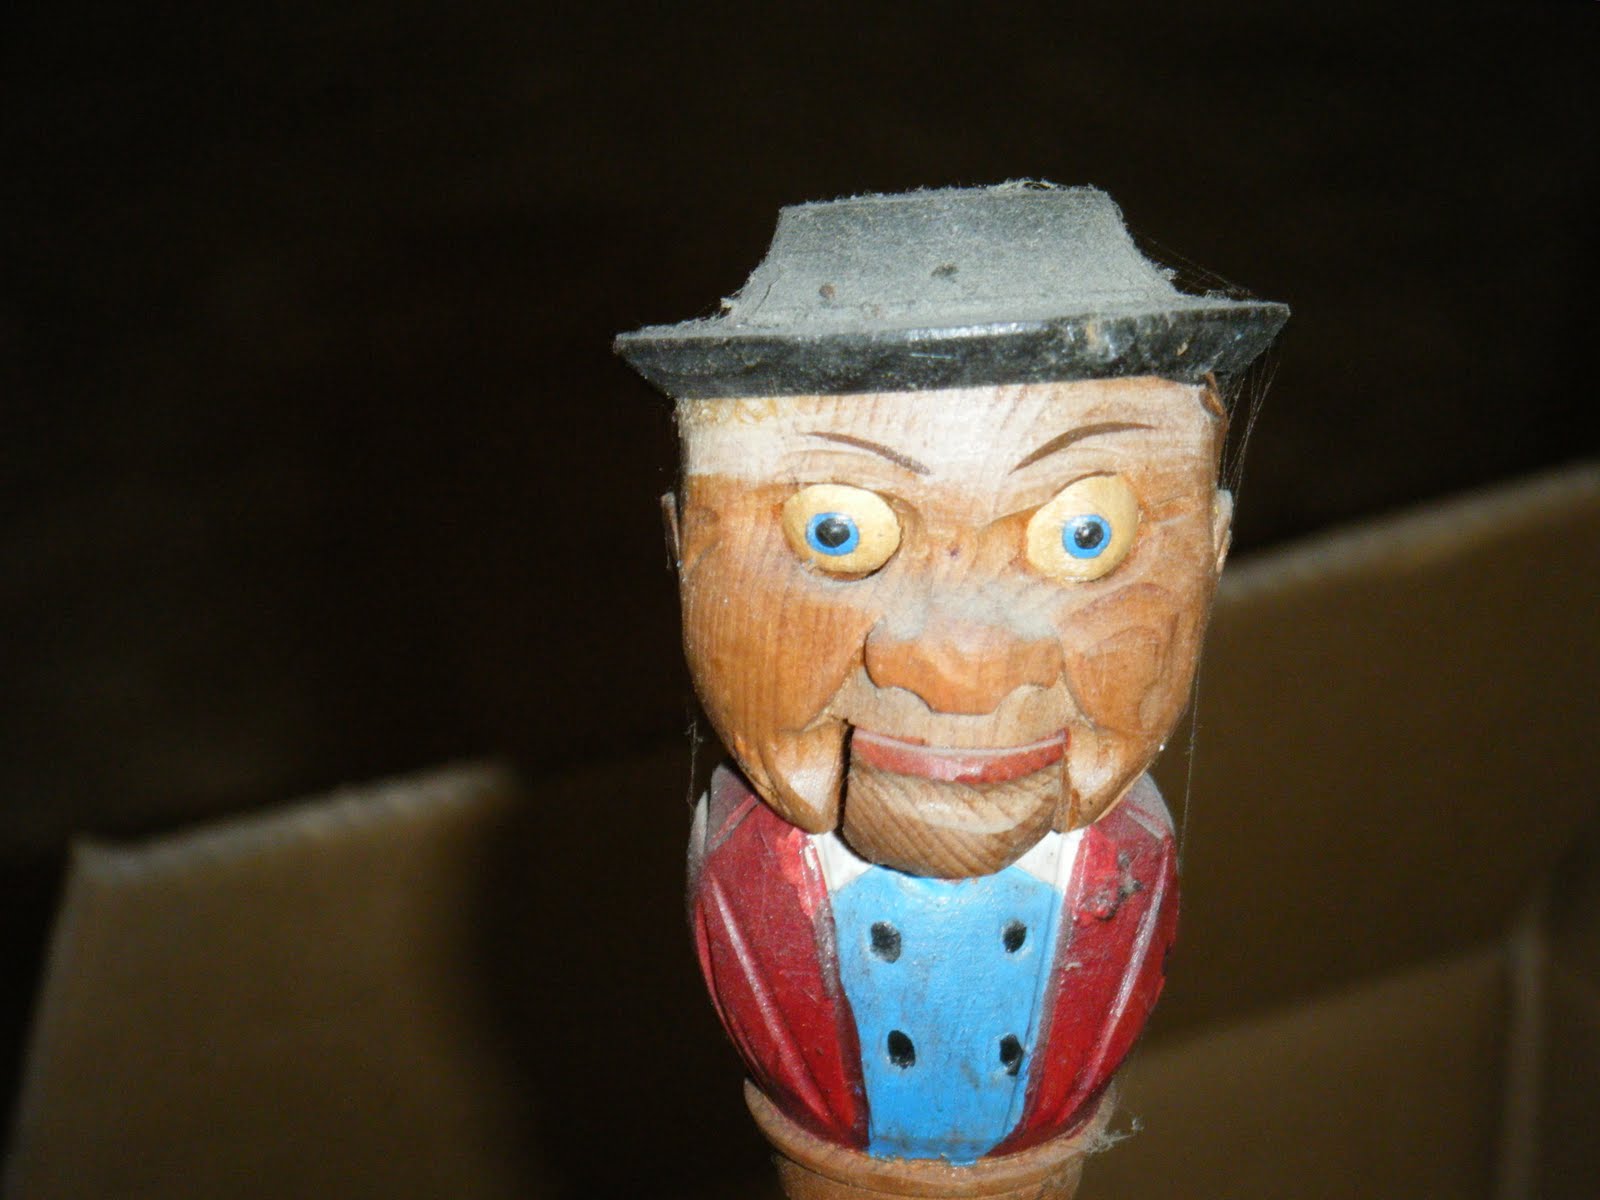
This is who we found.....


He was completely tucked away and I had never noticed him before.   He is a wine bottle cork.   There is a lever stuck in the base of his skull and if you press it his jaw goes slack open and his eyes roll back in his head. How charming.  My first reaction was "get rid of him".   DH: "But he's kind of fu.."  Me: "Get rid of HIM".   DH: "But don't you think he's sort of funny?"  Me: "No, no I don't.  He's terrifying...throw him out.  Throw him out right now."   In the end I won out and he is now sitting somewhere in the county dump.   Good riddance. 

We finally did get the carpets in the dining room pulled up.   We went from this....

and this...

To this...

We've got the concrete scrubbed and the plastic down and probably tonight or tomorrow we'll have the actual floors down which I'm really excited about even if the timing is bad.

Tomorrow is going to be a hectic day as well because DH is going to pick up Middle Brother from the airport, I have to get Oldest off to school, then I have to pack up the other two munchkins and DH's grandmother so that we can take her (Gran)  to the doctor.   Her leg has been swelling off and on for about a month and starting last week it's been swollen and we haven't been able to get it to go back down.   She's a little bit nervous about the whole ordeal, she HATES doctors and she's also scared they are going to find something seriously wrong so any of you out there who have left over prayers, she could surely use them about now.  

Earlier in this post I mentioned that DH has a bit of bad timing....well, he isn't the only one.   On top of trying to clean the whole house, paint, put in new floors, plan a party, and still cook and take care of the kids, I've also started three new projects.  Two crochet projects and a cross stitch project. Last week I realized that I needed a new top to wear to the grad party but my fabric stash is running low and I didn't see anything there that I wanted to use for a shirt.   I thought about running out to the fabric store but with the new floors and the party we're trying to cut down on our spending for the month.  Instead I decided to dig through my yarn stash and I found some suitable yarn and a free pattern off of Ravelry.  Since this one is for the weekend, it's going to take top priority.  
The second project is actually 3 projects in 1.   The kids found an amigurumi octopus that they wanted me to make for them out of one of my crochet books.   I've got the first one almost finished, I just have to make the rest of his legs.   Then I have to make two more little guys for the other two kiddies.   Come to think of it, I still have to finish the other kitty cat for Oldest's friend and I have to get that done before school is out. Yeesh.  
The cross stitch project is fortunately one that I can take my time on.   I found it off of Amazon for a very reasonable price.   It's cute and whimsical and small so it should be a lot of fun to work on.   I also bought a beginner cross stitch kit for Oldest and have ordered one for Middle.    We have been tackling those projects bit by bit, as time allows. 

Well, that's it for now I suppose.   I'll be sure to post some pictures of the floors when they are put down.   Try not to think about that first picture before you fall asleep tonight...who knows what kind of horrible nightmares that guy will induce.

A Little Tutorial


After my kids and I finished the memory quilt for Youngest, the older two decided they needed a little something as well.   SO, I made them bunny and monster stuffies.
Check out the tutorial if you'd like to make your own but don't know where to start.

Step 1: Draw your critter on a sheet of paper.  Keep it simple.


Step 2: Cut out your pattern.


Step 3: Pin your pattern to your fabric.  I used a shirt that Oldest had outgrown and a t-shirt of mine that was all stained and no longer fit to wear.  If you use old shirts make sure to turn them inside out first.


Step 4: Cut out a heart.  I used an old pair of Oldest's corduroy's.   What can I say, I'm a make do with what you've got kind of person.


Step 5: Fold the square/squares (depending on how many critters you are making) in half and pin them in the middle.


Step 6: Cut out a half heart shape like you would if you were cutting folded paper.


Step 7: Admire your heart cutting handy work.


Step 8: Going back to your critter pattern you can either cut out around the template and then sew the two pieces of fabric, right sides together  OR you can simply sew around the templates without cutting them out first (again make sure that either your shirts are turned inside out OR that your fabric is right sides together).  Be sure to leave about a one inch opening either on the top or bottom of your critter for stuffing.


Step 9: If you sewed around your template then cut around your sewing line leaving about a 1/4 inch margin.  Then turn it right side out. 


Step 10: Stuff 'em and sew on the details.  If you are using them for decoration you may want to fill their bottoms with some poly beads so they stand up better.  I used buttons for the eyes because both of my older kids are past the age of trying to eat their stuffed animals.  If you make this for an infant or toddler (or any child or adult for that matter that is NOT past the stage of chewing their stuffed animals) then forget the button eyes and opt instead for pieces of felt cut to look like eyes and then sewn on OR safety eyes. 


Step 11: Admire your creative genius and then hand them over...or keep them if you decide to make them for yourself ;)

Finished Quilt and Some Bread


I finished Youngest's memory quilt today (with the help of Oldest who used it as an opportunity to learn how to use the sewing machine).   You can definately tell that the squares weren't cut straight and that some of the sewing was done a little lop-sided but it was worth it to get the older two involved in something for Youngest and they were so excited to see it finished. 

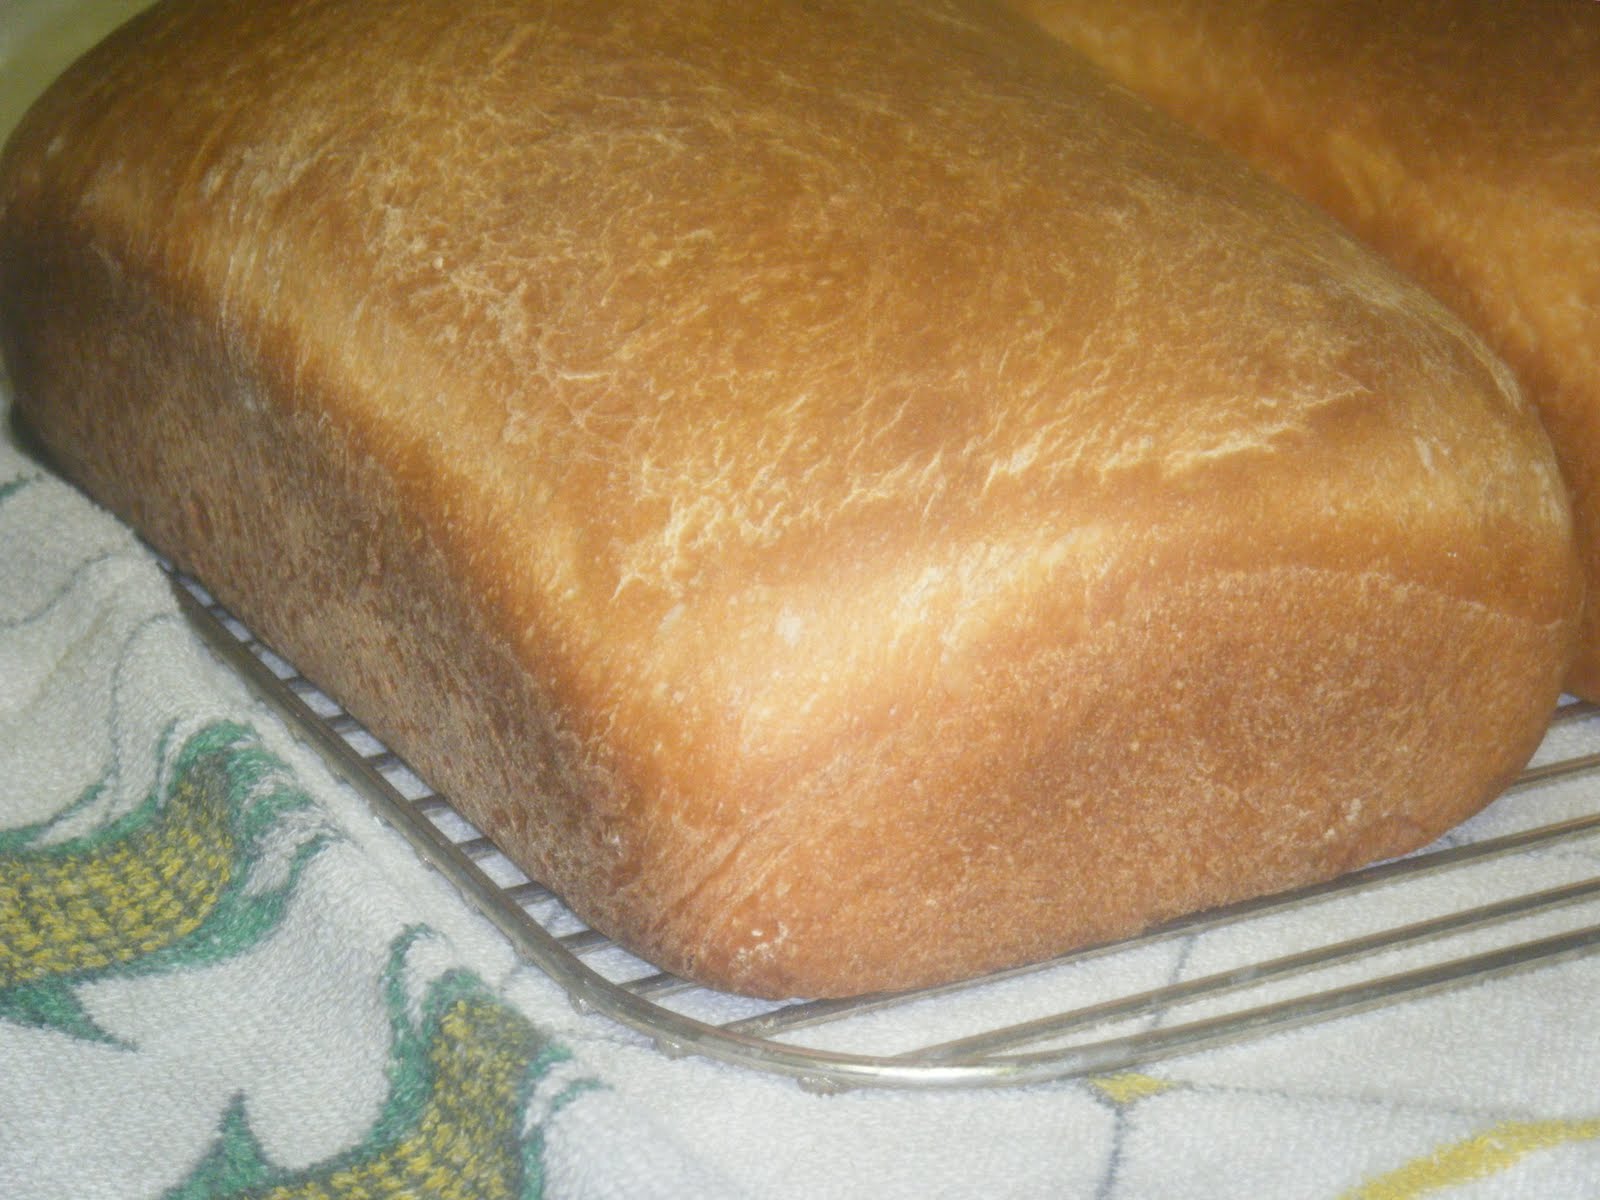
I also got some bread baked yesterday.  It was supposed to be enough for the rest of the week but, as usual, the first loaf is almost completely gone already.  I guess nothing beats fresh baked bread :)


Now that I've fed the family, I'm off to feed the dogs.

Fiber Festival


"Mooo"
Today started out pretty busy.  We went out to the farm to feed the cows in the morning.  We weeded in the flower beds and got those mostly cleaned up.   Then I spent much of the afternoon cleaning off the back porch and doing laundry. 

I was really hoping to hit the fiber fest by 3pm.  BUT, we didn't even make it out the door until 4:40pm.   I thought that today's booths were open until 6pm but they actually closed at 5pm.  We got there with 10 minutes to spare. 

I didn't manage to get a chance to pick up any yarn which bummed me out.  BUT, the trip wasn't a total bust.  The kids found some really cute knitted finger puppets.

One is an alpaca and the other is a sheep.  This picture doesn't do them justice. 

I also managed to find a few size 3 and 4 circular knitting needles which our local JOANN's doesn't seem to carry.   I searched for them online but they ranged from $8 to $12.   I found these for under $2 each.   I couldn't believe it!


The fiber festival continues through tomorrow so I just might make my way back there, depending on if I can justify spending more time away from the household chores.  We may even be able to catch some time at the arts and crafts show tomorrow if we head over there.    I'm kind of looking forward to seeing the afghans and such at that so hopefully we'll get to take a little time without cutting too much into our schedule.  


Memory Quilt

Lately I've found myself over run by baby clothes that Youngest no longer fits but are just too cute to throw out. I've donated at least three boxes worth but there are still more (the grandparents LOVE to buy the kids mountains of clothes). So I've decided to turn some of them into a cute little memory quilt for his crib.


Memory quilts are easy because they don't have to coordinate perfectly, they can be a fun mash up of colors, textures and patterns.  I personally prefer it to have a random, thrown together kind of look but you could easily make it more "planned out" if you wanted.  All you have to do is cut out a 6 in. square of cardboard, place it on the fabric or baby outfit that you want to use and cut around the square.  Then arrange it how you want it to be (as I've done in the above picture) and when you're ready, sew it all together. 

So far for mine, I've got all the squares cut out and arranged and hopefully I'll be sewing them together over the next day or so.

In the garden front we have everything replanted that we had put in the ground before that late frost.  So that's done now at least.  

 
We also have peach buds starting on all four of the peach trees.


And cherries started on the lone, young little cherry tree in our yard. This is the most we've had on this little tree since planting it 3 years ago so it's pretty exciting.  Last year we had a whole 1 cherry on this little bugger.  ONE.  Uno.  That was it.  This year we've got several branches with several little bunches of green fledgling cherries. Yay! The 10 or so cherry trees we have out at the orchard are also starting out nicely this year.  It's a good day when the garden and orchard are doing well outside the house and crafts are going on inside the house. 

Crochet Dishcloth

This is the second dishcloth that I made.
The pattern is Crochet Flower Dishcloth from Coats and Clark's website.

That's basically been it for the crafting front around here.   We've all been a bit run down with colds and I've been trying to get the garden planted.  I got a few seedlings in the ground the day before yesterday, only to wake up this morning to a nice, very late, frost.   Soooo, starting over is probably in my very near future.   Oh well, at least gardening is good for the soul. 

One Pair of Baby Pants Down...Several More to Go

These pants are seriously one of the easiest sewing projects out there.   A beginner could make this with virtually no problems at all and a more experienced person could turn out several in one day.


For Youngest's pants I used the monkey print flannel fabric that I've showcased on here previously but you could use really any fabric that is suitable for clothing, including old adult sized t-shirts.

There is a detailed tutorial at the handy home projects blog.


Crochet preemie hat


This is another preemie hat I just recently finished for the local Children's Hospital.   The pattern is very easy, it only calls for single crochets and chain stitches.  So it's well suited for beginners.   I found the hat pattern here.


The swirly topper I found here.
But the hat could be finished with a tassle or pompoms or nothing at all. 


Middle's Stocking Cap

I finally finished Middle's stocking cap.    It's a variation of the pattern seen here.

It's a little big on him but I like it all the same.
It gives him room to grow into it, I guess.


The Afghan from Hell.


I've been crafting since childhood, but only crocheting for about 3 years (give or take). So it came as quite a surprise when my wonderful husband, Joe, came to me with an afghan request. He had an afghan he'd wanted made since he was a kid but no one had ever made it for him. It turns out no one had made it because they couldn't figure out HOW to make it. His Grandmother, who had been crocheting for around 60 years, couldn't figure out how to make it. His aunt also crocheting for over a decade, couldn't figure out how to make it. And now, here he was, standing in front of me with puppy dog eyes thrusting this pattern labeled *extra challenging* (Afghan Extravaganza 1995, Challenger pg. 124) onto my lap. I thought he must be joking, but I tried the pattern on a test run anyways, convinced that I wouldn't get past row 2. Well, I actually did get past row 2 and managed to figure out the pattern entirely. That was my undoing. My husband began searching the local craft stores for the yarn he wanted the very next day. He then decided that the blanket would be just too small if I followed the pattern exactly. So he made it almost twice as wide, which then meant I had to make it even longer, "so it would remain proportional" he argued. As a result, I've been working on this afghan for 2 1/2 months....and I just finished row 13 of 56. That's not including the border. This afghan hates me. But hear this! I will not be defeated! I will finish this afghan and I will do it in time for my hubby's birthday in Sept.! (Maybe).

Introduction

I'm a 27 year old wife and mother. I love funny movies and I hate laundry. I'm also just one woman among many who has a passion for creating. I craft for fun and profit. I craft in an effort to make a positive difference in the world.
Thus begins my foray into the world of blogging. I hope to share my love of crafts, my insight in crafting professionally, and most of all my take on craftivism with anyone who is willing to listen.