"The greatest fine art of the future will be the making of a comfortable living from a small piece of land."
-Abraham Lincoln

A Season of Harvest

Have I mentioned yet that I love fall?  I hate winter but I LOVE fall.  The weather is wonderful, the colors are fantastic and, of course, it's harvest time! This is the time when all that hard work really starts to pay off.  Sweet corn, popcorn, Indian corn, tomatoes, pumpkins, squash, gourds, apples, cabbage, heck we even have watermelons still coming up and ripening for us.  Yep, it's an all around pleasant time of year. 

The picture above is some of our popcorn this year.  We set it out at our pumpkin stand with the plan to take store and eventually eat any of it that doesn't sell.  Given modern society's woefully poor appreciation for the joys and usefullness of Indian corn and homegrown popcorn, I think there will probably be plenty left over for us.  With the type of summer we had this year I was very pleased to see how well the Indian corn and the popcorn colored up. 

I've been bringing in tomatoes and watermelons from the garden almost daily this last week.  The kiddos are loving the watemelons.  I grew the smaller, "personal" sized watermelons this year and it's turned out really nicely.  We can generally slice up and eat one whole watermelon between the six of us in one night without any leftover to take up space in the fridge.  

The kids have been having a blast making drums out of last year's dried gourds.  We took one of our smaller round dried gourds, cut it in half and cleaned it all out and made a rubber mallet out of one of a larger sized bouncy ball, some super glue and a dowel cut down to size.   Then the kids put the gourds into a basin of water, cut side down, and they drum away.  This is definitely a project for everyone with kids to try, it's easy and fun and the sound will surprise both you and them.  

Even the chickens that we bought this summer are getting in on the action by laying their first eggs (2 weeks early)!  It was a pleasant surprise to find them already laying fairly large for first timers, beautful brown eggs. 

I sincerely hope your fall has been a blessed one so far, as well.  :)

Today We Make Butter...and Buttermilk!

Ok, I may already have a post on here somewhere about making butter.  In fact, I'd say it's pretty likely.  However, I can't find it so I'm going to blog about butter anyway.  I mean, butter is kind of like bacon, it may not be good for us but we love it all the same.  Why bother making it at home, you might ask?  Well, for the love of butter of course!  Butter made at home is generally made of higher quality cream for less money. It's customizable.  You want honey butter?  Done.  You want rosemary and thyme butter?  Done. Garlic butter?  You betcha.  Plus it's easier than you might think.  You don't have to dress in colonial era clothing and spend all afternoon toiling away at a butter churn. So let's get on with it.

 Step 1: Add heavy cream to your mixer bowl.  I used cream from our cows but if you don't have that luxury you can always get some from your local grocery store.  If you want organic, by all means, go for it.  If you have a dairy down the road where you can buy your cream good and fresh all the better.  But even if you have to go with plain old heavy cream from the refrigerator aisle of your local Walmart you'll still be doing just fine. 

Step 2: Mix away until your cream starts to thicken.  Start on low unless you want to be cleaning cream off your walls, counters, fridge, and everything else in your kitchen.   Once it thickens some you can turn up the juice.  You could stop here, at the point of the above picture, and you could add a little vanilla, fold in some confectioners sugar and you would have wonderful homemade whipped cream perfect for your hot cocoa or anything else you want whipped cream on but that is for another day and another post.  Right now, we're making butter so we move on.   
Step 4: Keep mixing.  A short time after the whipped cream stage, and I mean a very short time, you will start to notice a change in your bowl.  The cream will separate into two components, liquid buttermilk and solid butter fat.  At this point you've hit paydirt!  You're butter is officially churned.  

Step 5: It's time to get your hands dirty.  You need to reach in there and mash the butterfat together into a ball.  Reserve the liquid left behind, DO NOT THROW IT OUT.  It's honest to goodness, actual factual, buttermilk.   Grab up your butter ball and place it in a clean bowl or you can use cheesecloth if you have that.  

Step 6: Rinse.  You'll want to put your bowl with your ball of butter under a running faucet of clean water.  Rinse and squeeze your butter then dump the water.  Repeat this process until the water in your bowl is clear and clean. Squeeze out any and all remaining liquid.  This is an important step because it will help keep your butter from going rancid.   At this point you can add salt, I usually only add a pinch, if you want salted butter.  You can also add honey, garlic, herbs or anything else that you think would make for good flavored butter if you'd like.  

Step 7: Pack it up.   You can put your finished butter in a small mason jar and store it in your fridge if you like or you can roll it into a log in some plastic wrap if you prefer.  You can store it in the freezer as well, just put it into a freezer safe container or take your log in your plastic wrap and place it in a ziploc freezer bag.   For the butter milk you'll want to run it through a strainer and put it in a clean mason jar and store it in your fridge.  It'll be ready to use for your next batch of buttermilk pancakes.   

Canning Apples

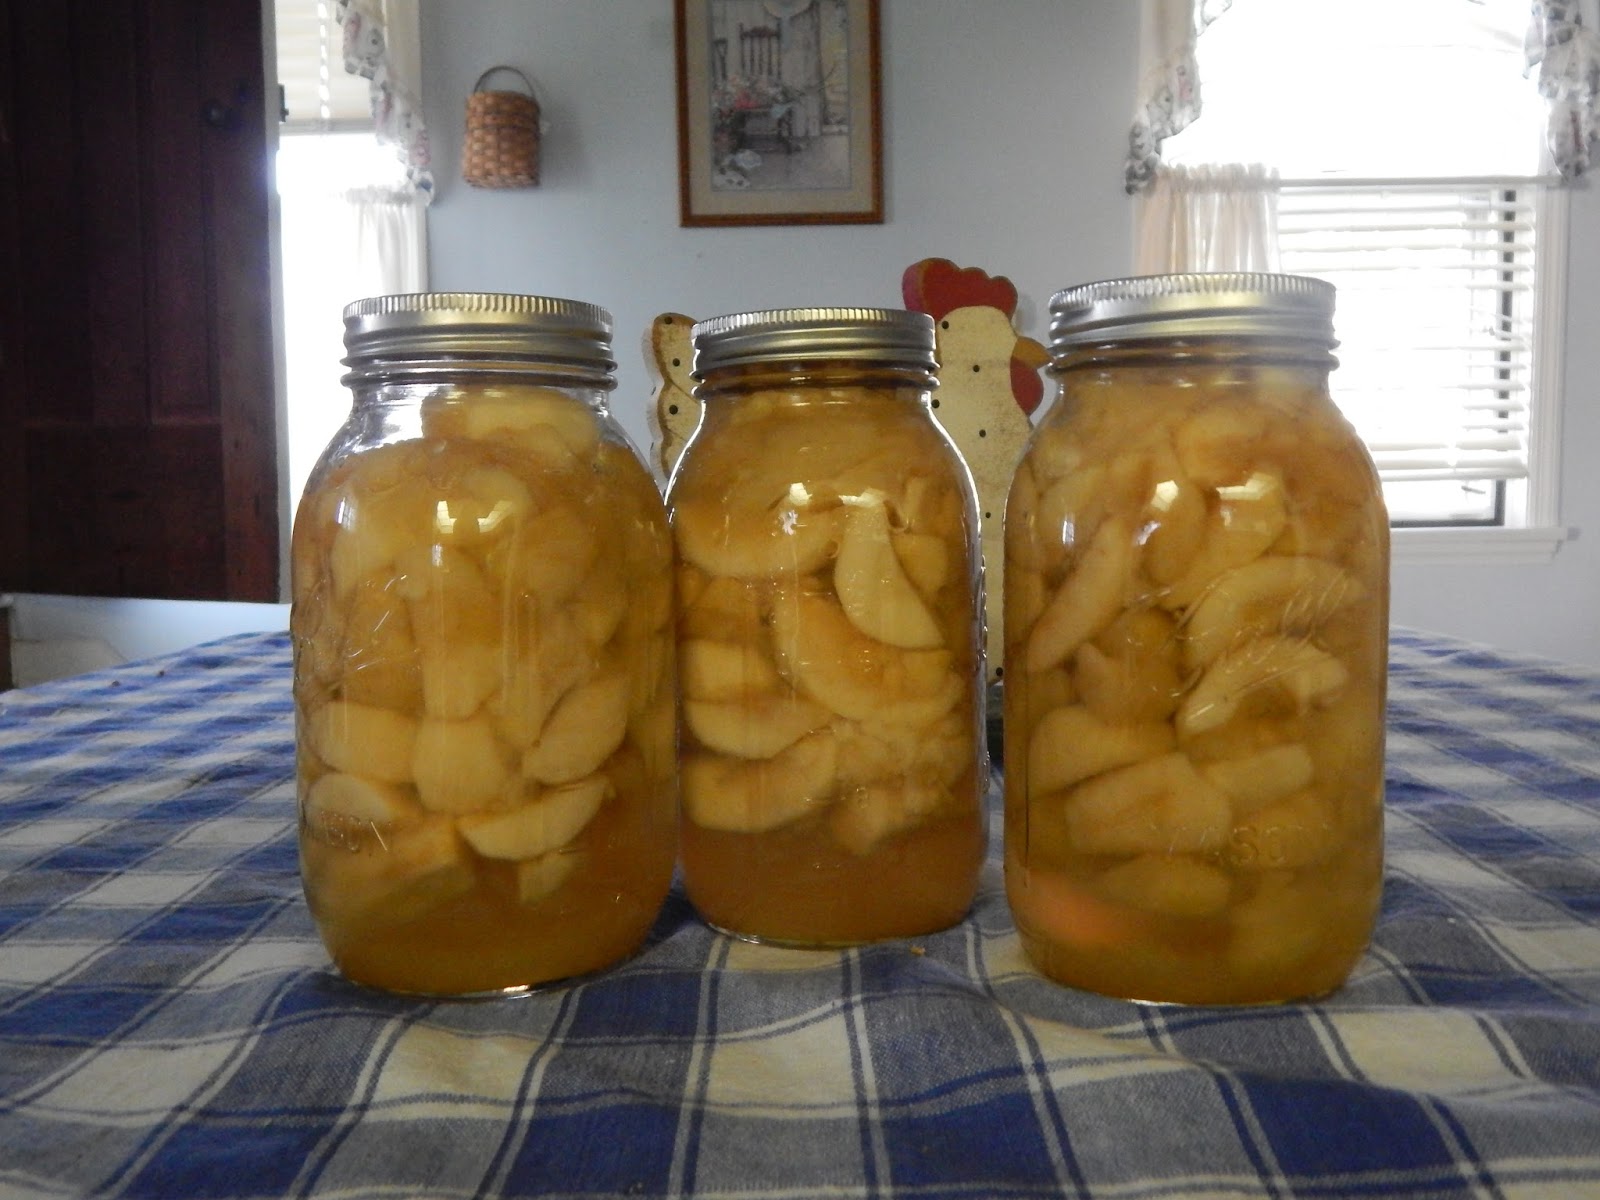
 My jars are sterilized and ready to go in the waterbath canner

In the last post I mentioned picking a giant bushel of apples.  What did I do with those apples, you may ask?  Well, truth be told, we ate most of them fresh.  My kids can pack away fresh apples like nobody's business.  BUT, I did can some.  That's right.   I canned them.  Good old fashioned Mason Jar type food preservation.  You can can too.   Little play on words there...anywho, on to the tutorial!

There are really two big rules in home canning.  1. Plan before you can and 2. When in doubt, throw it out.  Keep those two things in mind and you will do just fine. 


Apples are an easy starter food to get your foot in the door to home canning.   They are fairly acidic so they can be canned using a waterbath canner instead of a pressure cooker, they generally hold up well to processing and they are versatile.  

Step 1 in the canning process is gathering your supplies.  You will need:
  • Several sterilized quart sized mason jars with new lids and neck bands
  • A peeler
  • An apple slicer  *this isn't "necessary" but it is helpful and makes the job go much faster
  • A waterbath canner
  • A jar lifting tool
  • A spatula 
  • A saucepan
  • About 30 apples (to get around 3 quart sized jars)
 Tip: keep the lids in a pot of simmering water until you are ready to use them. This softens the adhesive on the lids and makes for a better seal.

 Step 2:  Make your syrup.
  • You can choose to make either a medium or a light syrup.  If you are going to be mainly eating them straight from the jar, I personally like a medium syrup.  However, if you are going to be using them for applesauce or baking, then I prefer a light syrup.  In this case I used a light syrup.  For a light syrup I use 3 c. of sugar to 6 c. of water.  For a medium syrup I go with 4 c. of sugar to 6 c. of water.  Heat the sugar water to a boil over medium-high heat, stirring constantly until the sugar completely dissolves.  Reduce the heat to low to keep warm but don't allow it to boil down.  
Step 3: Prepare your apples
  •  Peel your apples and then core and slice them.  If you are worried about discoloration you can use citric acid or a fruit preserve powder, both of which you can find in your canning aisle at your grocery store.   Just follow the directions on the package.  Personally, I don't really worry about a little browning, that's me.  
Step 4: Packing the apples
  • Apples are a hot pack process.  That means that you cook the apples a bit before processing them in the jars.  Add your apples to the syrup and bring them both back to a soft boil at medium-high heat.  Boil gently for 5 minutes.  Pack the apples into the hot sterile jars using a slotted spoon, leave 1/2 inch head space (that part is important so check the chart below to see how to determine head space). Pour syrup of the apples, still leaving 1/2 inch of head space. Using your spatula, press the apples around in the jar to remove air bubbles.  Wipe down your jars, especially around the rim, center the lid and place the band.  Twist the band until just tight.

Step 5:  Process the jars.
  • Place your jars in the water bath canner and fill the canner with water 1 in. above the tops of the jars.  Process your jars in boiling water for the amount of time specified for your altitude.  Don't start timing until the water is actually boiling.  If you are at sea level, boil for 20 minutes.  Add 2 minutes for every 1000 feet above sea level.  So, for example, 1000 or less feet above sea level=20 minutes, 1001-2000ft above sea level=22 minutes, 2000-3000ft above sea level=24 minute and so on and so forth.
 Step 6: Allow your jars to cool
  • I sit my jars on a folded towel on the counter to minimize heat damage.  Allow them to sit for 24 hours.  You may begin to hear random pinging/popping noises...don't be alarmed, that's a good thing.  After 24 hours check your jars for a good seal.  If your jars have sealed properly the center of the lid will not move, or have any "give", when you press on it.  If all goes well, your newly canned jars of apples will last about 12 months, IF you can keep from eating them for that long!


Change is in the Air

It has been unseasonably cool this summer, not that I'm complaining or anything, but it has certainly felt more like fall than summer.  Even as I'm typing this I'm sitting with an afghan I made a few years ago wrapped around my shoulders.  I have a couple of windows open and the chill is working it's way through the room.   Tonight would be a good night for a warm glass of tea. 

Today was filled to the brim with hustle and bustle.   First it was check-ups at the doctors office for two of the four munchkins, then swim lessons and a workout at the Y, then home to make dinner and clean.  Our upstairs shower and toilet have been less than perfectly functional for the last two weeks or so and we are finally getting a plumber in to take a look at it tomorrow so the upstairs bath needed a good scrub down.   After that it was out to the orchard in the late evening to pick a giant bushel of apples before the last bit of sun was gone. 

With the cooler weather my thoughts have been turning to those of sweaters for the youngsters.  Oldest needs a couple of new ones as does Middle and the baby.  I have been spending much of the precious little downtime I've had lately scouring the internet for cute patterns to try.  I may break out the knitting machine and work a few up on it this year.  It might be fun.   I also need to be working on a warmer blanket for DS number 3.

It seems like lately I have more projects than time.  I'm going to have to slow down eventually.  I'm already tired just thinking about everything that still needs done.  The apples need put up, the sweaters need made, the house needs cleaned, the laundry needs washed, I need to start getting the kids ready for schooling, then there are the dinners to be made, the shopping to be done, the bills to be paid, and on and on it goes. 

This weekend we are making a trip to the zoo with the kiddos.  It will be a much needed distraction and break from the daily grind.  I think stepping back, even just for a day, will do us all a world of good.   I love this lifestyle, I've been doing it for many, many years.  The country is gorgeous.  Life is "simpler".  We work hard and we sleep well.  But even something as well loved and as wonderful as the simple life can become overwhelming if you don't take a break now and again to regroup. 

Blessings be unto you and yours until next time. 


The Chickens Have Landed

A little chicken love to brighten your day!

 This is one of our marans (we think) sitting out enjoying the sunshine in front of the big barn.


 Here she is again. 


And this one is one of our barred rocks.  She's extremely friendly.  LOVES to perch on my husbands shoulder.

Well that's it for the moment.  Just a little chicken break.  Enjoy it.  :)

Happy Fourth of July...

Ok, so I'm a day but I hope your Fourth of July was a good one.  For us, meh...  There was a light drizzle here so our tiny midwestern town decided it might melt if it held it's fireworks display so they postponed it for tonight.  Unfortunately, we didn't get the message and we packed up all the kids in our finest patriotic gear, grabbed the camera, grabbed a picnic basket and headed for the fairgrounds.  At least we didn't feel too dumb, there were several other people there who didn't get the message either.

We spent most of our Fourth of July morning and afternoon working out in the garden planting and weeding and weeding and planting and working on the old Ford tractor that hasn't been run in more than two years.   After hooking the chain up to it and pulling it with the truck around the barn once or twice we were able to get it started and it ran really well.  The only problem with is it refuses to start back up once it's shut down so obviously we need to work on the starter a bit more but just the fact that ol' reliable started up at all and ran for any length of time was a wonderful thing. 

The garden itself is doing pretty well.  In the little garden we've attempted a "mostly" no till approach.  The only tilling we have done has been in the planted rows themselves and, considering the small size of this particular garden space, that has only been about six rows all told.  I can honestly say I don't think I'll take a no till approach next year but the garden has grown, we do have celery, chinese lettuce, peppers, broccoli, tomatoes, watermelon and corn popping up.  We even have a musk melon coming up that we didn't even try for.

Our summer flowers are starting to bloom. 

We finally have our chicken coop MOSTLY finished and our girls have been in their new home for about a week now.  They seem to really enjoy it.  We still have a few odds and ends to work on like their window and cutting out the door to their outside pen area and adding a couple more perches but overall it's done.    It's a nice change from the small, portable coop we did have.  This one is secure in the barn and should, hopefully, be much nicer for winter.  The girls seem to really enjoy it.


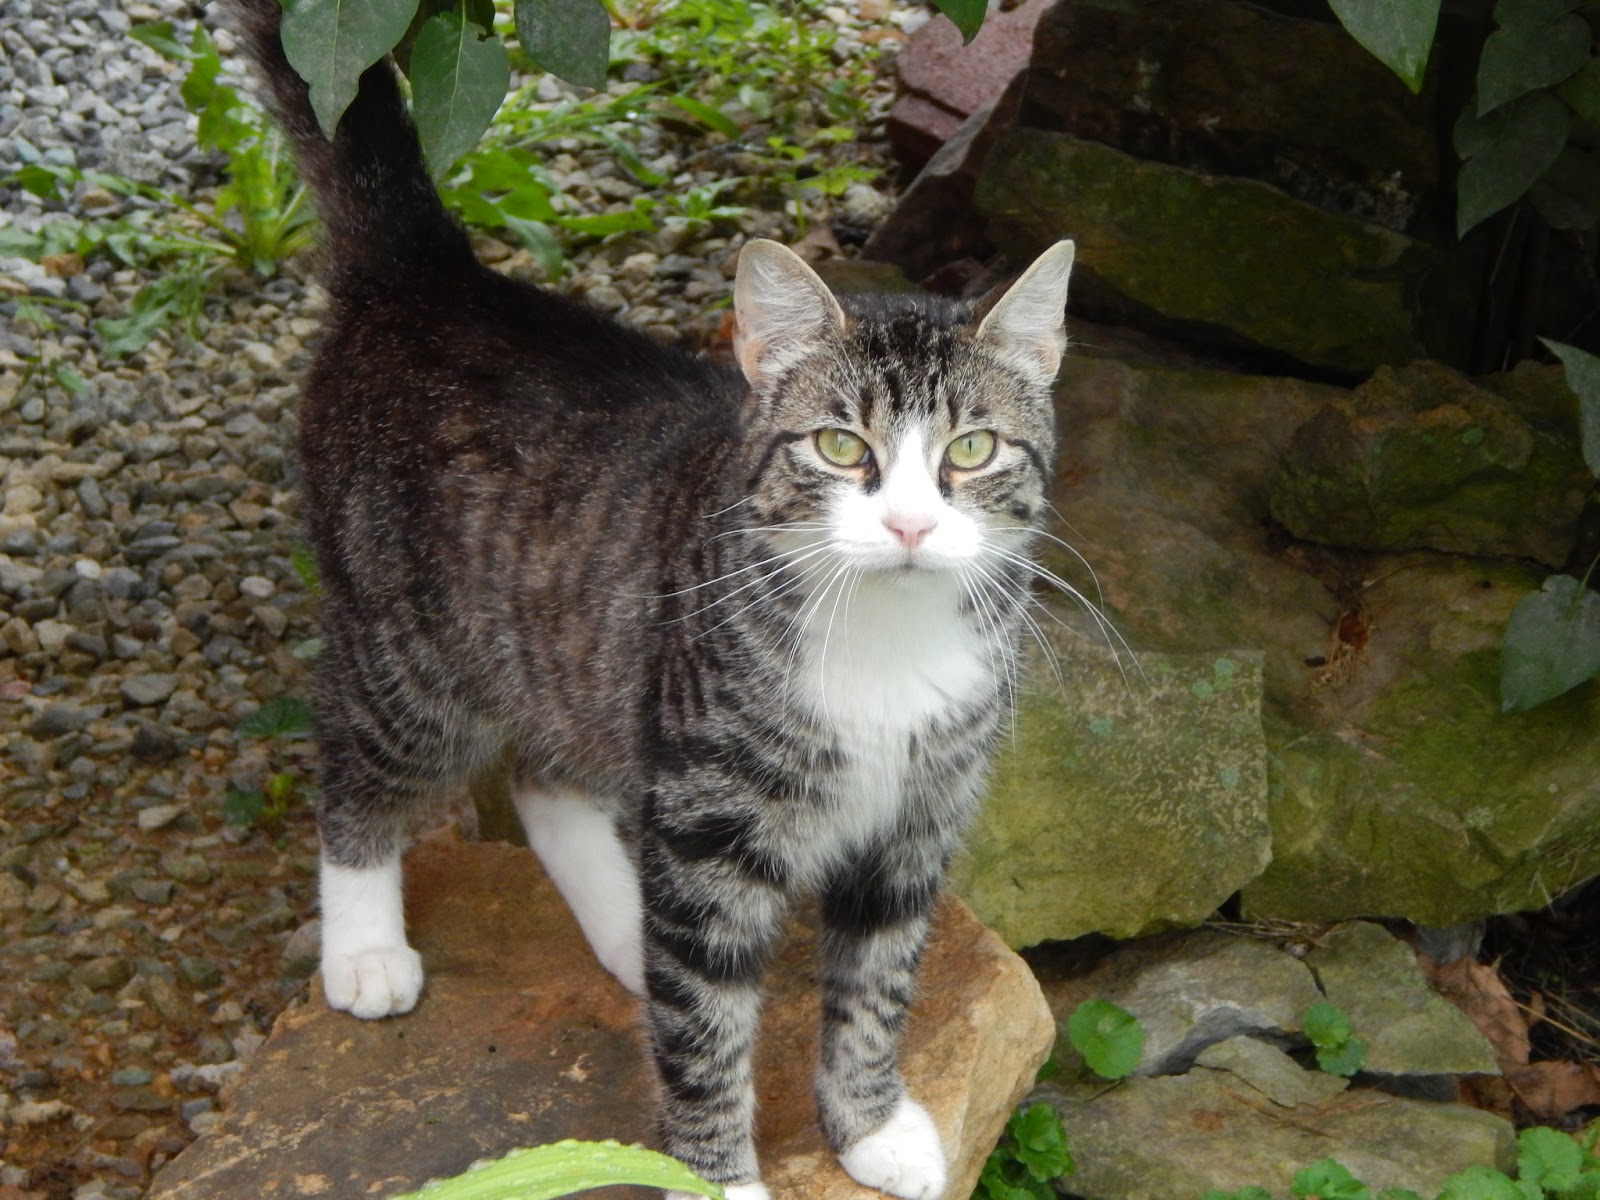
I think the only one who doesn't like the new coop is Miney the barn cat
He can watch the chickens in their new space but can't get at them, which he's just not real happy about.  :) 

Strawberries and more

Spring is easily one of the busiest times of the year for us, second only to fall.  In the spring we clean, we till,we fertilize, we plant, we fertilize a little more, we pull weeds, and pull weeds, and pull more weeds, we do a lot of the work on the buildings that we neglected to do over the winter and we wrap up our schooling on top of all that. 

This spring was particularly busy.  We ordered approximately 30 young trees to start our new orchard.  We spent a good portion of the beginning of spring planting all the new apple, peach, cherry and apricot trees we acquired, hopefully in about 2 years we will start to see the fruits of our labors.  Very exciting. 
This is one of the larger peach trees we planted.  It already had a few small peach buds on it but those have mostly shriveled away. 


The kids have been out foraging as of late, a past time we readily encourage but only after they have been taught what to look for and what to stay far away from by us adults.  They've been bringing in bountiful harvests of wild strawberries and mulberries and hopefully by the middle of next month they will be bringing us blackberries for pies and jam.  

 This is not one of the wild strawberries found on our property.  Those, although plentiful, were considerably smaller than this one.  This was, however, one of the excellent berries my mother-in-law picked for us from another local farmer.  Sooo good. 

This is one of the many blackberry bushes on our property.   The berries aren't quite ready yet, but they are getting there.  


We've been working hard in the garden as well although I don't have any pictures from the garden to share with you at the moment.  The corn is coming along nicely, so are the watermelons, tomatoes, peppers and herbs. This year's garden is much smaller, with far fewer crops than previous year's gardens because I had just given birth when it was time to start planting and, frankly, I just didn't have the energy to do a large garden this year.  Good thing we still have lots of canned and frozen veggies and fruit from last year.  

Another sure sign of spring around here....baby chicks.  We ordered 29 (of which we still have 25) baby chicks of various different breeds (all brown or colored egg layers) back in January so much of the last part of the winter was not only spent preparing for our new little human but also for our new baby chickens as well.  
 Aren't they cute?  We have a couple easter eggers in there, and some marans, rhode island reds, a delaware, a couple salmon favorelles, some welsummers and langshans among others. 

They are much bigger now than they were when this picture was taken and are currently residing in a much bigger "pen", right in the middle of my kitchen no less, until they are big enough to head out to the coop in the barn.   Speaking of, I think I need to refill their water container and give them some more feed.

So long for now.